
Step-by-Step Guide Applying for Lash Extensions Beautifully!
Share
Lash extensions have become increasingly popular for those looking to enhance their natural lashes and achieve a glamorous, full-lash look. But how do you go about applying lash extensions correctly?
Step 1: Cleanse and prepare the area.
Before you begin applying lash extensions, it is crucial to ensure the area is clean and free of any makeup residue or oils. To thoroughly cleanse your lashes, use a gentle lash cleanser or oil-free makeup remover. This helps to create a clean canvas for the adhesive and promotes better lash retention.
Step 2: Separate the Natural Lashes
To achieve the best results, it's important to separate the natural lashes. To carefully separate and isolate each individual lash, use a lash comb or tweezers. By applying each lash extension to a single natural lash, you avoid clumping and achieve a more natural appearance.
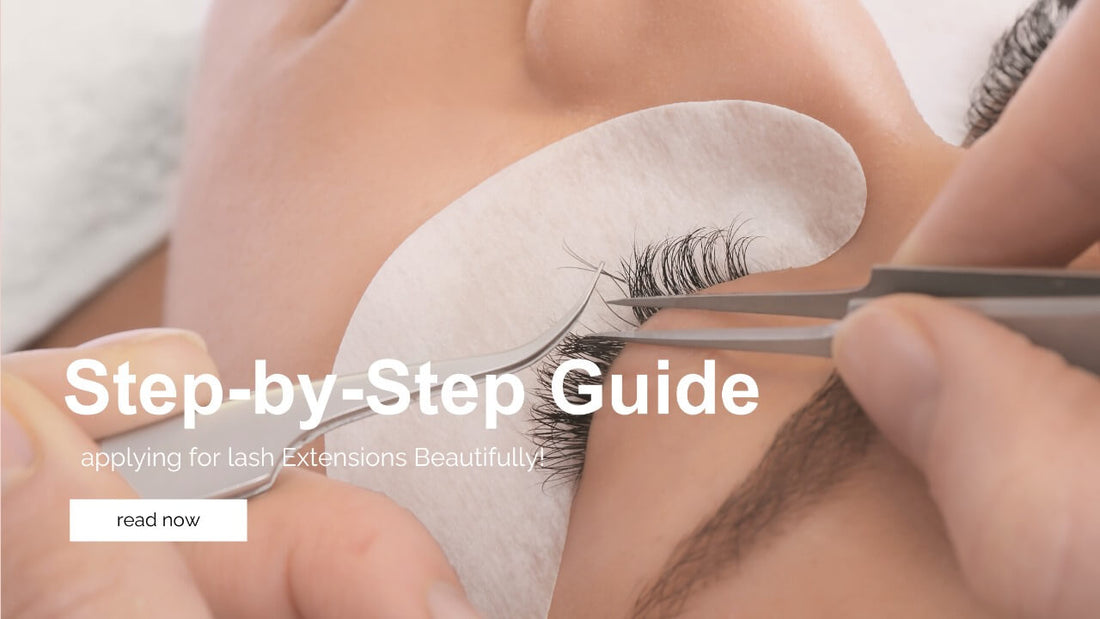
Step 3: Attaching the Lash Extensions
Using clean, sterilized tweezers, pick up a single lash extension from the tray. Dip the base of the extension into a quality lash adhesive, ensuring a small bead of adhesive is present at the base. Carefully place the extension onto the isolated natural lash, approximately 1-2 mm away from the lash line. The adhesive will dry and bond the extension securely to the natural lash. Repeat this process for each individual lash, ensuring a consistent and even application.
Step 4: Styling the new lashes
After applying all the lash extensions, the next step is to style the lashes. To separate the extensions and ensure there are no tangled or crossed lashes, carefully comb through them with a lash comb or a spoolie brush. You can also use the comb to lift the lashes, creating a natural curl if desired. Remember to be gentle and avoid tugging or pulling on the extensions.
LASH EXTENSION
Tips for Maintaining Lash Extensions:
- Avoid getting your lashes wet for the first 24 hours after application to allow the adhesive to fully cure.
- When applying products near your lashes, only oil-free makeup and makeup removers are recommended.
- Avoid rubbing or pulling on the lash extensions.
- Brush and groom your lashes on a daily basis to keep them neat and prevent tangling.
- Schedule regular touch-up appointments to maintain the fullness and longevity of your lash extensions.
Applying lash extensions can lead to stunning, fuller lashes that enhance your overall look. Follow these step-by-step instructions to achieve professional-looking results from the comfort of your own home. Remember, practice makes perfect, so take your time and be patient during the application process. Enjoy your beautiful new lashes!
LASH EXTENSION
FAQ
1. What are the fundamental tools required for the application of lash extensions?
Lash extensions: Select the appropriate variety and length to achieve the desired appearance.
Lash adhesive: Guarantee that it is of superior quality and suitable for use in close proximity to the eyes.
.
Lash brush: For the purpose of grooming and separating lashes.
Primer: To enhance the adhesion and clear the natural lashes.
Eye pads: To safeguard the lower lashes and under-eye region.
Microfiber brush or applicator: For the application of adhesive remover and gesso.
2. What is the best method for prepping my natural lashes prior to applying lash extensions?
Proper preparation is essential for the successful administration of lash extensions:
Cleanse your lashes: Utilize an oil-free cleanser to eliminate any grime, oils, or makeup from your natural lashes.
Primer application: Employ a microfiber swab to apply a lash primer to your natural lashes. This facilitates the removal of any residual lubricants and establishes a more effective bond between the extensions.