
How to Use Lash Lift Kit
Before You Begin

STEP 1
Clean and Prepare the Lashes
Cleanse lashes with a primer or cleanser, then gently curl them with an eyelash curler for the best results.
Proper preparation is essential for achieving an even lift, improved solution absorption, and beautiful, long-lasting results.

Step 2
Choose and Attach the Silicone Pad
Choose a smaller pad for a stronger curl or a larger pad for a more natural curl. Apply glue to the back of the pad, wait 40 seconds, then place it on the upper lid and press for 1 minute.

Step 3
Secure the Lashes to the Pad
Apply glue to the pad and lashes. Wait 40 seconds, then comb the lashes upward. Keep every lash straight, separated, and fully attached to the pad.

Important
Secured the Lashes
Do not proceed to Perm Lotion #1 until all lashes are securely attached to the pad.
Proper lash placement is essential for achieving an even and consistent lift.

Step 4
Apply Perm Lotion #1
This is a critical step in the lash lift process.
Apply Perm Lotion #1 evenly with a new applicator and cover with perm paper. Process for 12–13 minutes for most users, 13–14 minutes if unsure, or up to 15 minutes for straight or resistant lashes.

Step 5
Remove Perm Lotion #1
Check the lashes during processing. If any lashes lift, re-secure them and apply Perm Lotion #1 to the affected area for 1 additional minute. Then completely remove Lotion #1.

step 6
Apply Setting Lotion #2
Apply Setting Lotion #2 evenly with a new applicator. Cover with perm paper and process for 8 minutes. Remove the perm paper and completely remove Setting Lotion #2.

step 7
Finish & Care
Apply Multi Total Care Cream with a new applicator and leave for 1 minute. Remove the cream, then remove the silicone pad and clean away any remaining glue. Allow the lashes to dry.
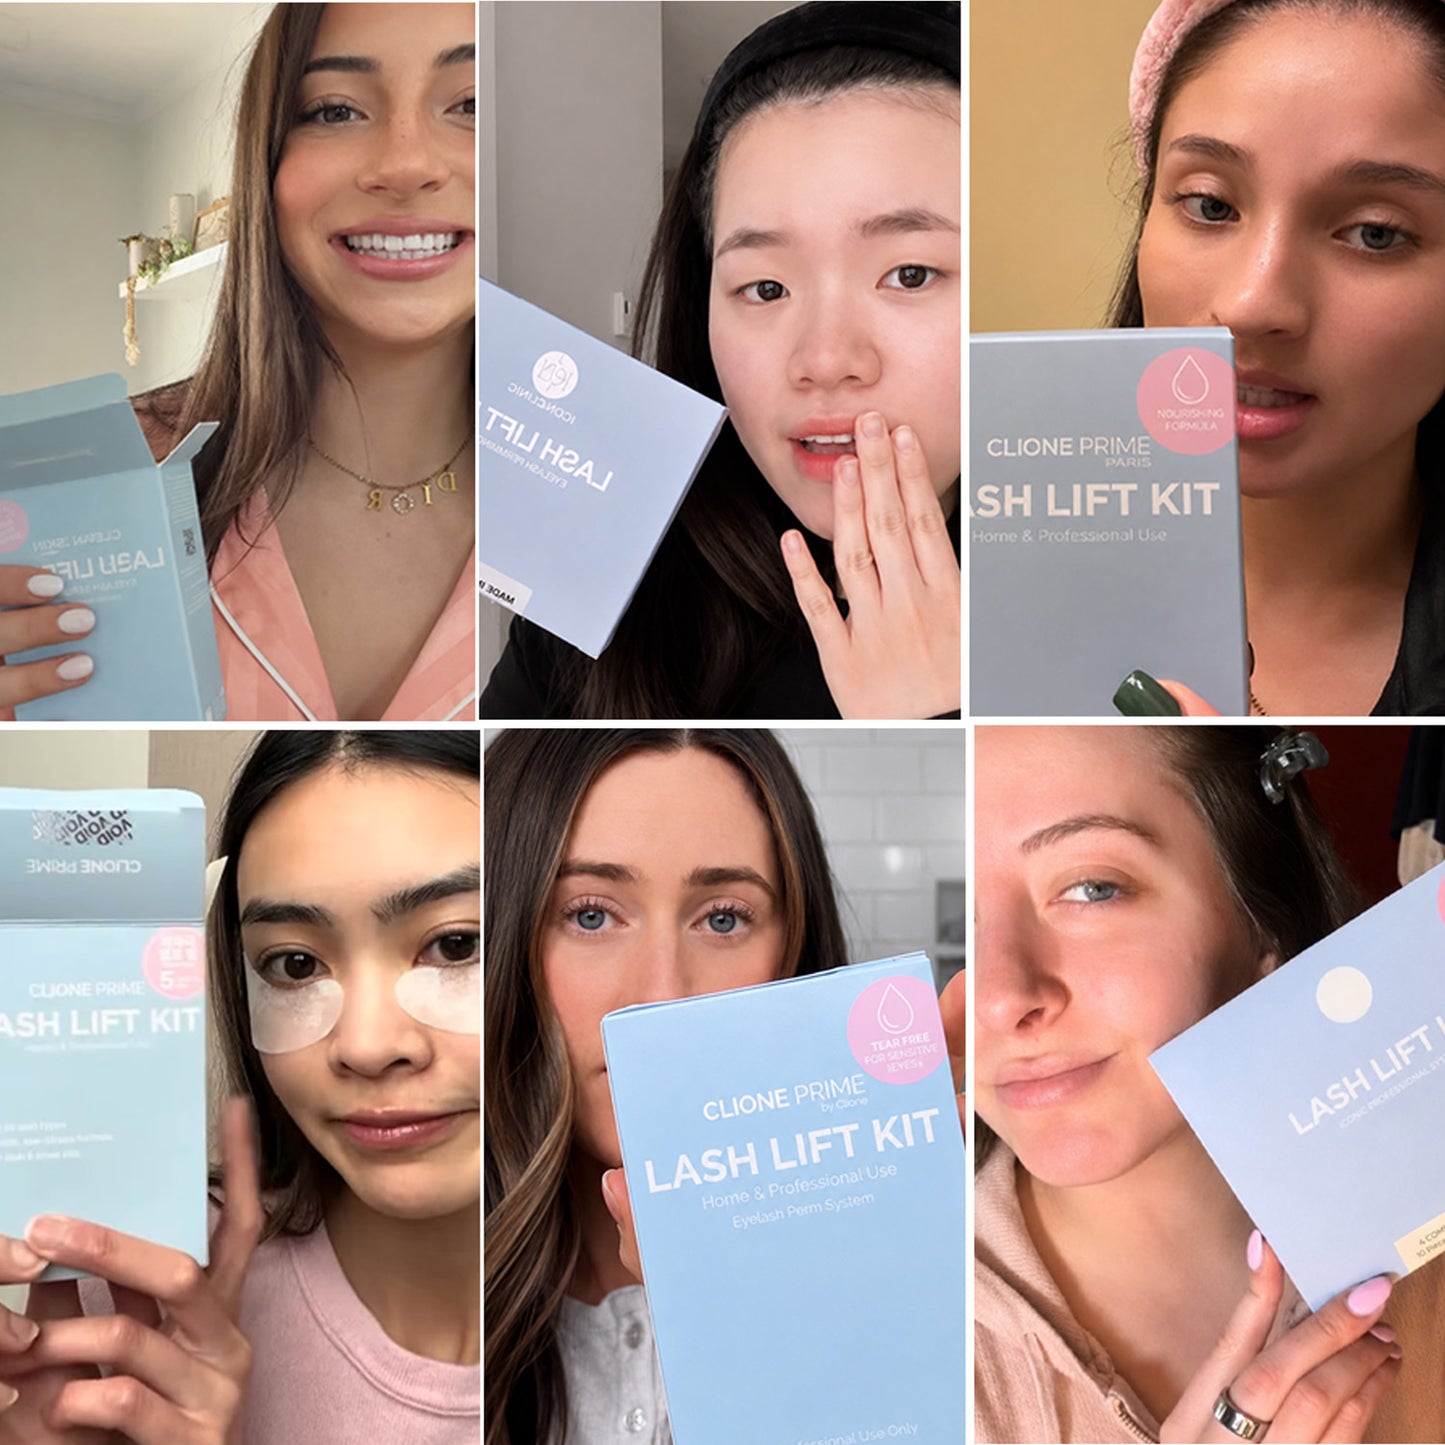
Customer Reviews ⭐⭐⭐
-

RN's Review
"Update! Original post was Jan 6 it’s now Jan 31 and this is how they have held up. I didn’t curl or put mascara on. They have held up nicely. Worth it!"
-

Ryan83
"This product is just so fabulous! So easy to use and saves me so much money! The glue seems strong enough if you use plenty and wait the specified times. I use it about once every 6 to 8 weeks, and it lasts! I thought I had short lashes, but turns out they are just straight."
-

Kalise
"I was worried a little bit because my eyelashes are on the thicker side, but it did great like my lashes look fake. It was an easy process. All you have to do is follow the instructions step-by-step. Using the glue to lift up my eyelashes was a little challenging, but all I did was use my finger up to push it up first and then follow the instructions."


Warning
Aftercare
-
Lash and Brow Tint Kit
Regular price $12.00 USDRegular price -
Lash Lift and Tint Kit
Regular price $30.00 USDRegular price

