
Choosing Right Lash Remover for lash beauty and daily use!
Share
Eyelash extensions can enhance your look significantly, but there comes a time when they need to be removed. Whether you're looking to take a break from extensions, preparing for a new set, or simply practicing good eyelash hygiene, selecting the right lash remover is crucial.
Some Lash Remover Types
Before choosing a lash remover, it’s important to understand the different types available. They mainly fall into two categories: cream-based and gel-based removers.
- Cream-Based Removers: They are thick, which minimizes the risk of the product seeping into the eyes. Ideal for individuals with sensitive eyes.
- Gel-Based Removers: This type has a thinner consistency than cream-based, making them easier to apply on the adhesive. They work faster but require careful application to avoid contact with the eyes.
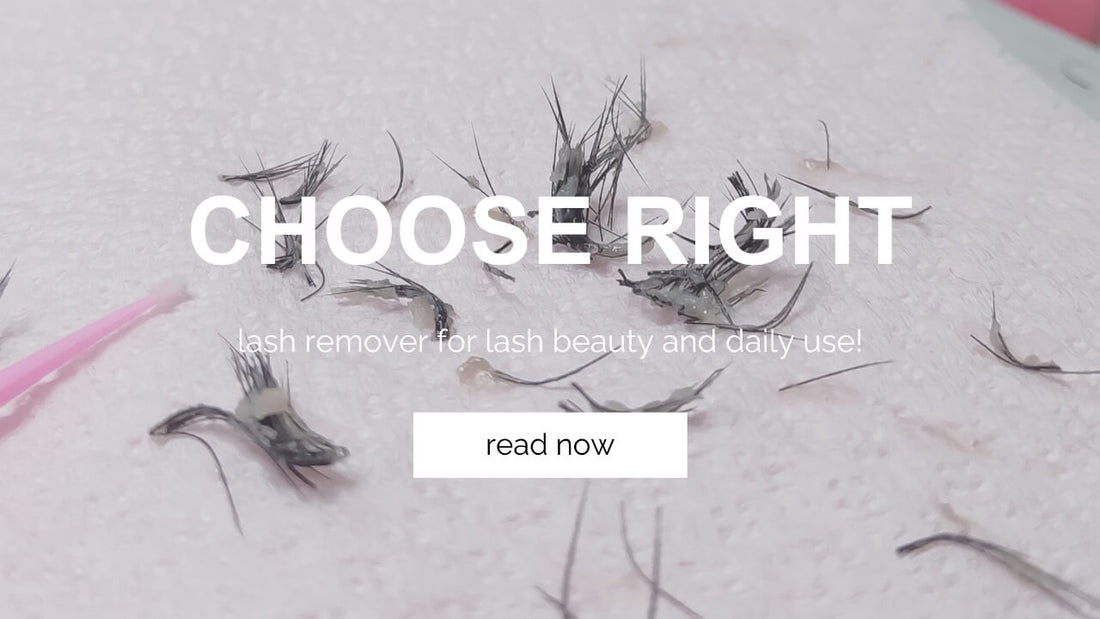
Lash Remover
Factors to Consider
When selecting a lash remover, several factors must be considered to ensure it meets your needs effectively.
Effectiveness
The primary consideration is how effectively the product can dissolve lash glue. The strength of the remover should match the type of adhesive used for your lash extensions.
Sensitivity
If you have sensitive skin, opt for a remover formulated for sensitive eyes. Look for products labeled hypoallergenic.
Ingredients
Check the ingredients for any potential allergens. Organic and natural removers can be a good option for those who prefer fewer chemicals.
Price
While not the most important factor, the cost can influence your choice. Remember that quality and safety should not be compromised for the price.
Step-by-Step Application Guide
Proper application is key to removing eyelash extensions safely and effectively. Follow these steps to ensure a smooth removal process.
Preparing Your Tools
Collect all the necessary tools before starting:
- Lash remover
- Cotton swabs
- Cleansing pads or wipes
- Eye pads or medical tape (optional)
Application Process
- Cleanse the Eye Area: Remove all makeup and debris from around your eyes using a gentle cleanser.
- Apply Eye Pads: If you have them, apply eye pads or use medical tape to cover the lower lashes. This protects your eyes and skin from the remover.
- Applying the Remover: Using a cotton swab, apply a small amount of lash remover to the base of the eyelash extensions, where the glue is. Avoid direct contact with the skin or eyes.
- Wait: Allow the remover to sit for the specific time mentioned on the product label, usually between 5 to 10 minutes.
- Gently Remove Extensions: With gentle pressure, use a clean cotton swab to slide the lash extensions off. They should come off easily. If not, reapply a little more remover and wait a few more minutes.
- Cleanse Again: Once all extensions are removed, thoroughly cleanse the eye area to remove any residue of the remover.
Aftercare
- Rinse your eyes gently but thoroughly to ensure all traces of the remover are gone.
- Apply a nourishing eye cream or serum to help the eye area recover.
Common Mistakes to Avoid
Avoiding these common mistakes can ensure a safer experience and protect your natural lashes:
- Using Too Much Remover: Applying too much can cause the product to seep into the eyes, leading to irritation.
- Rushing the Process: Give the remover enough time to dissolve the glue. Rushing can result in pulling and damage to your natural lashes.
- Ignoring Product Instructions: Always follow the specific instructions provided with the lash remover for the best results.
Lash Remover
Choosing the right lash remover and applying it correctly is crucial for the health of your natural lashes and the delicate skin around your eyes. By considering the type of remover, its ingredients, and following the steps outlined for its application, you can ensure a safe and effective removal process. Always prioritize the health and safety of your eyes when selecting and using lash removal products.