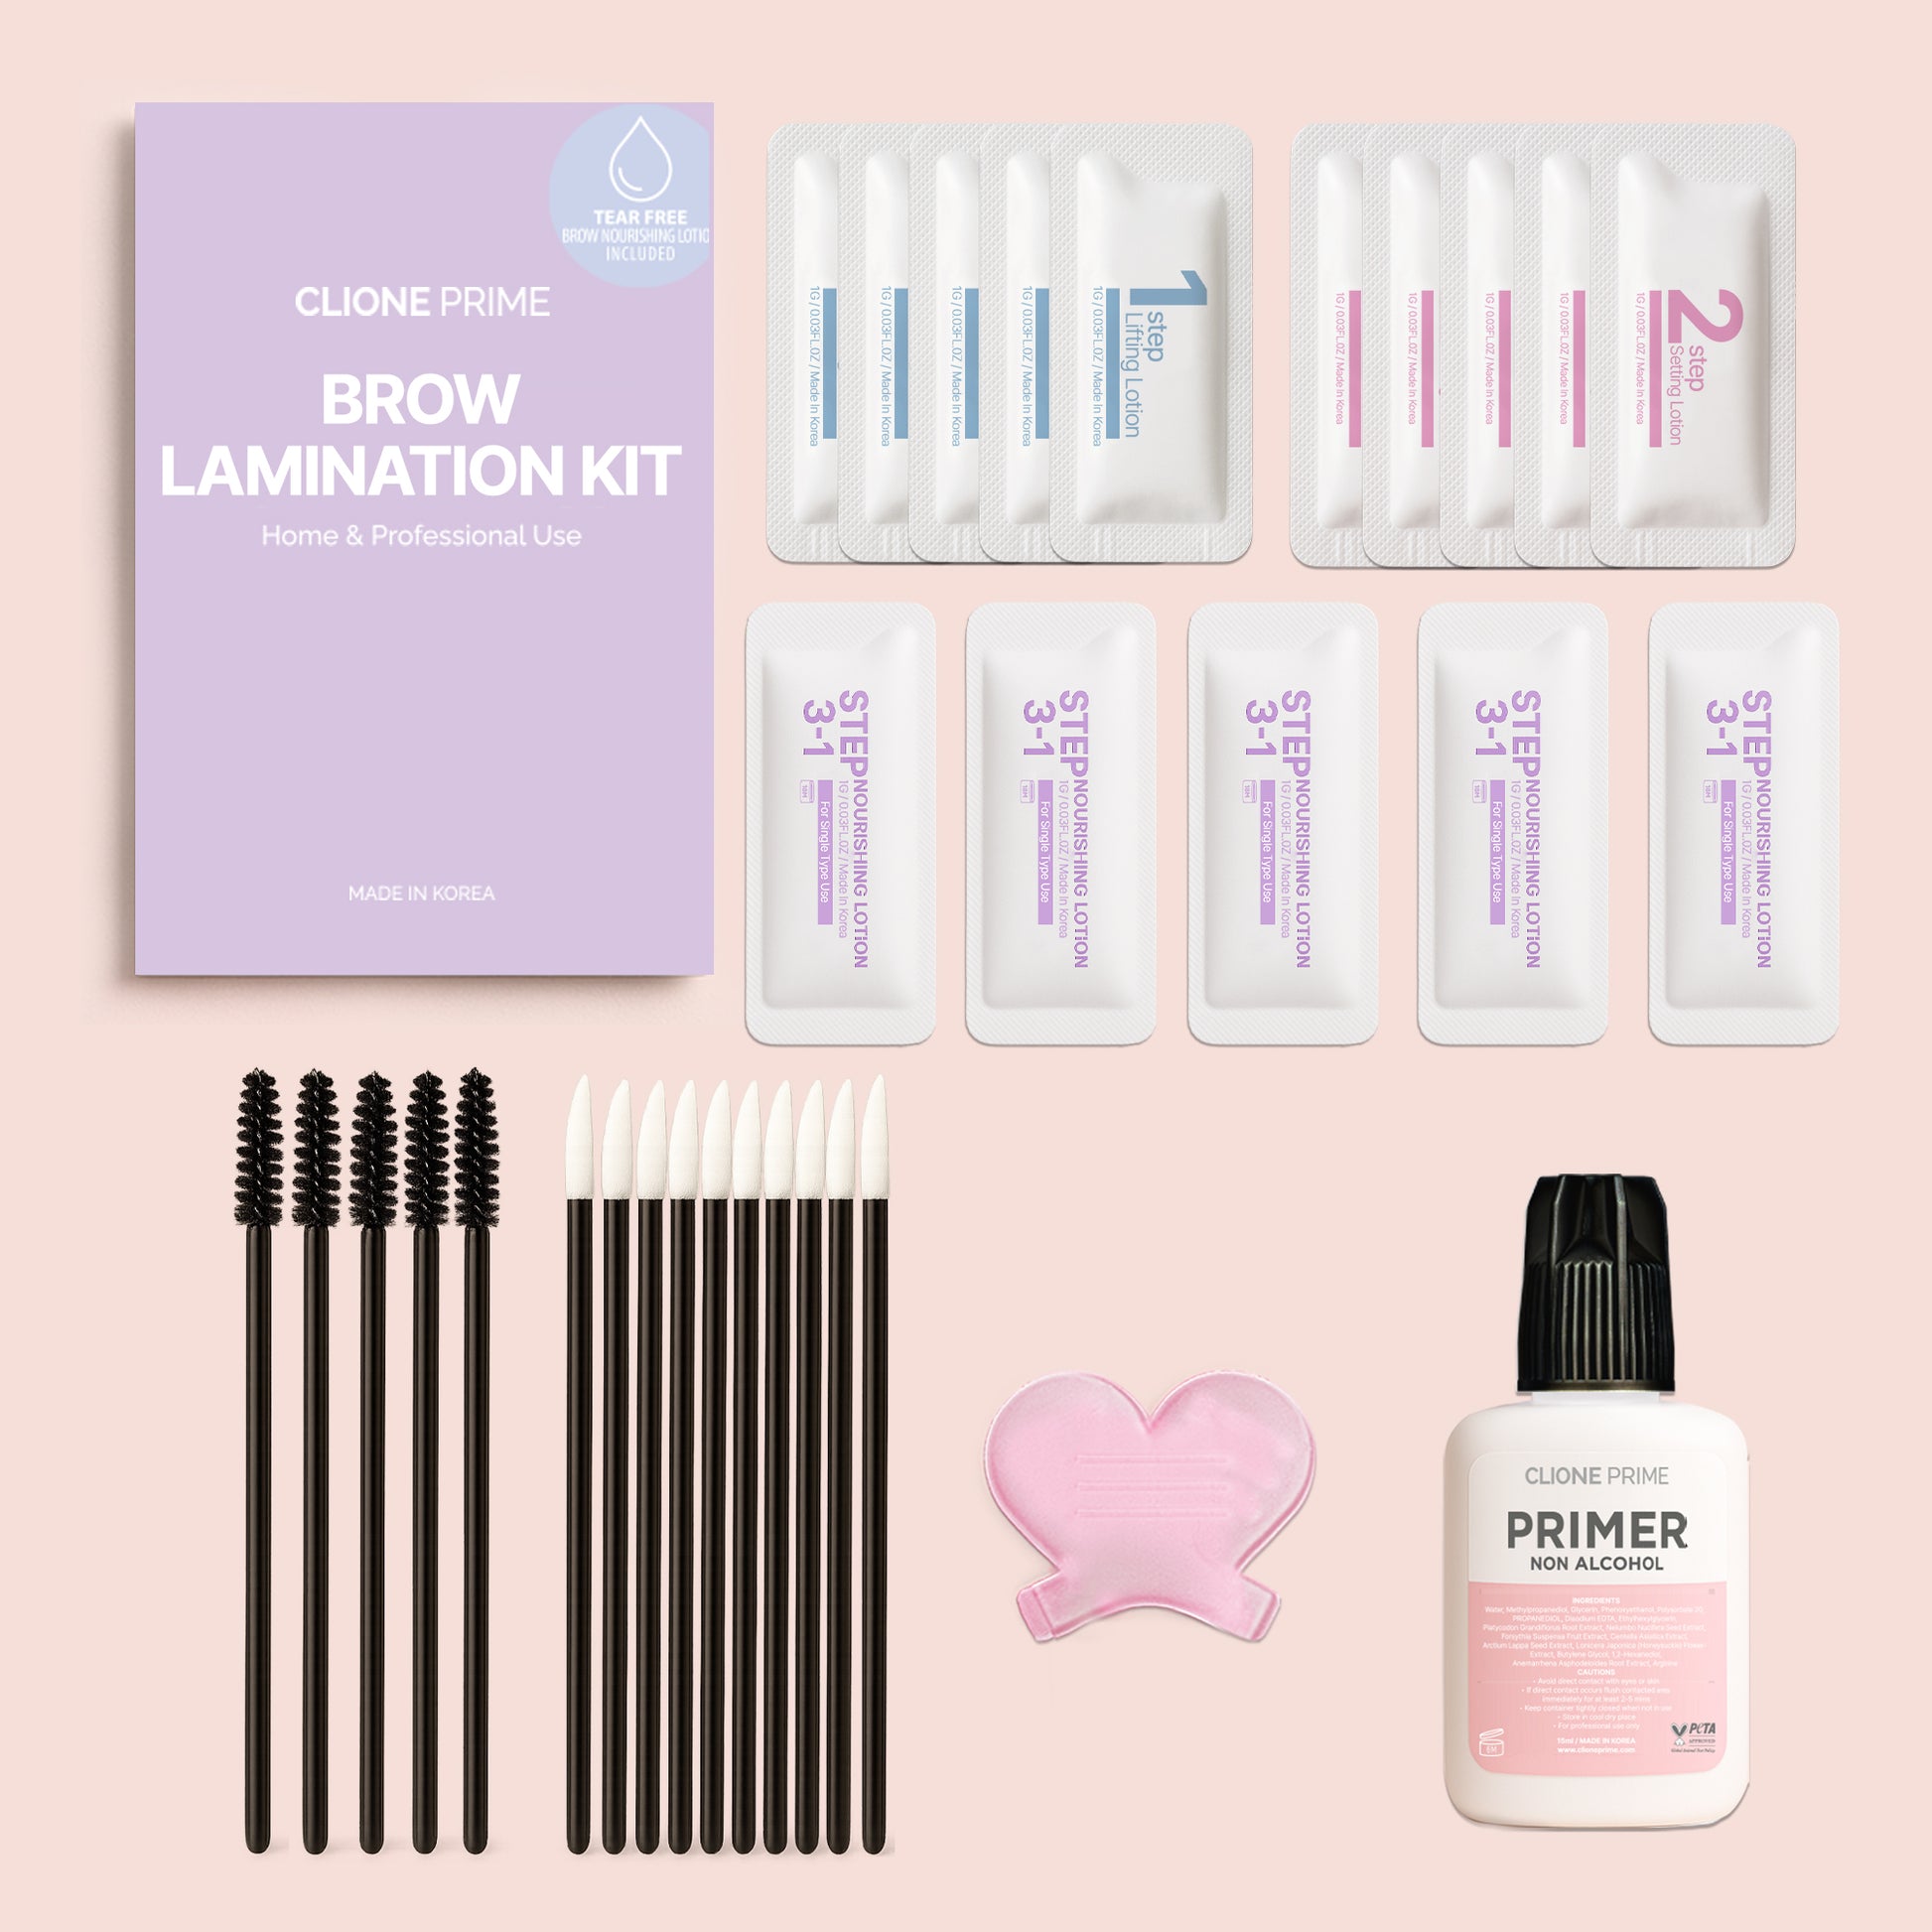
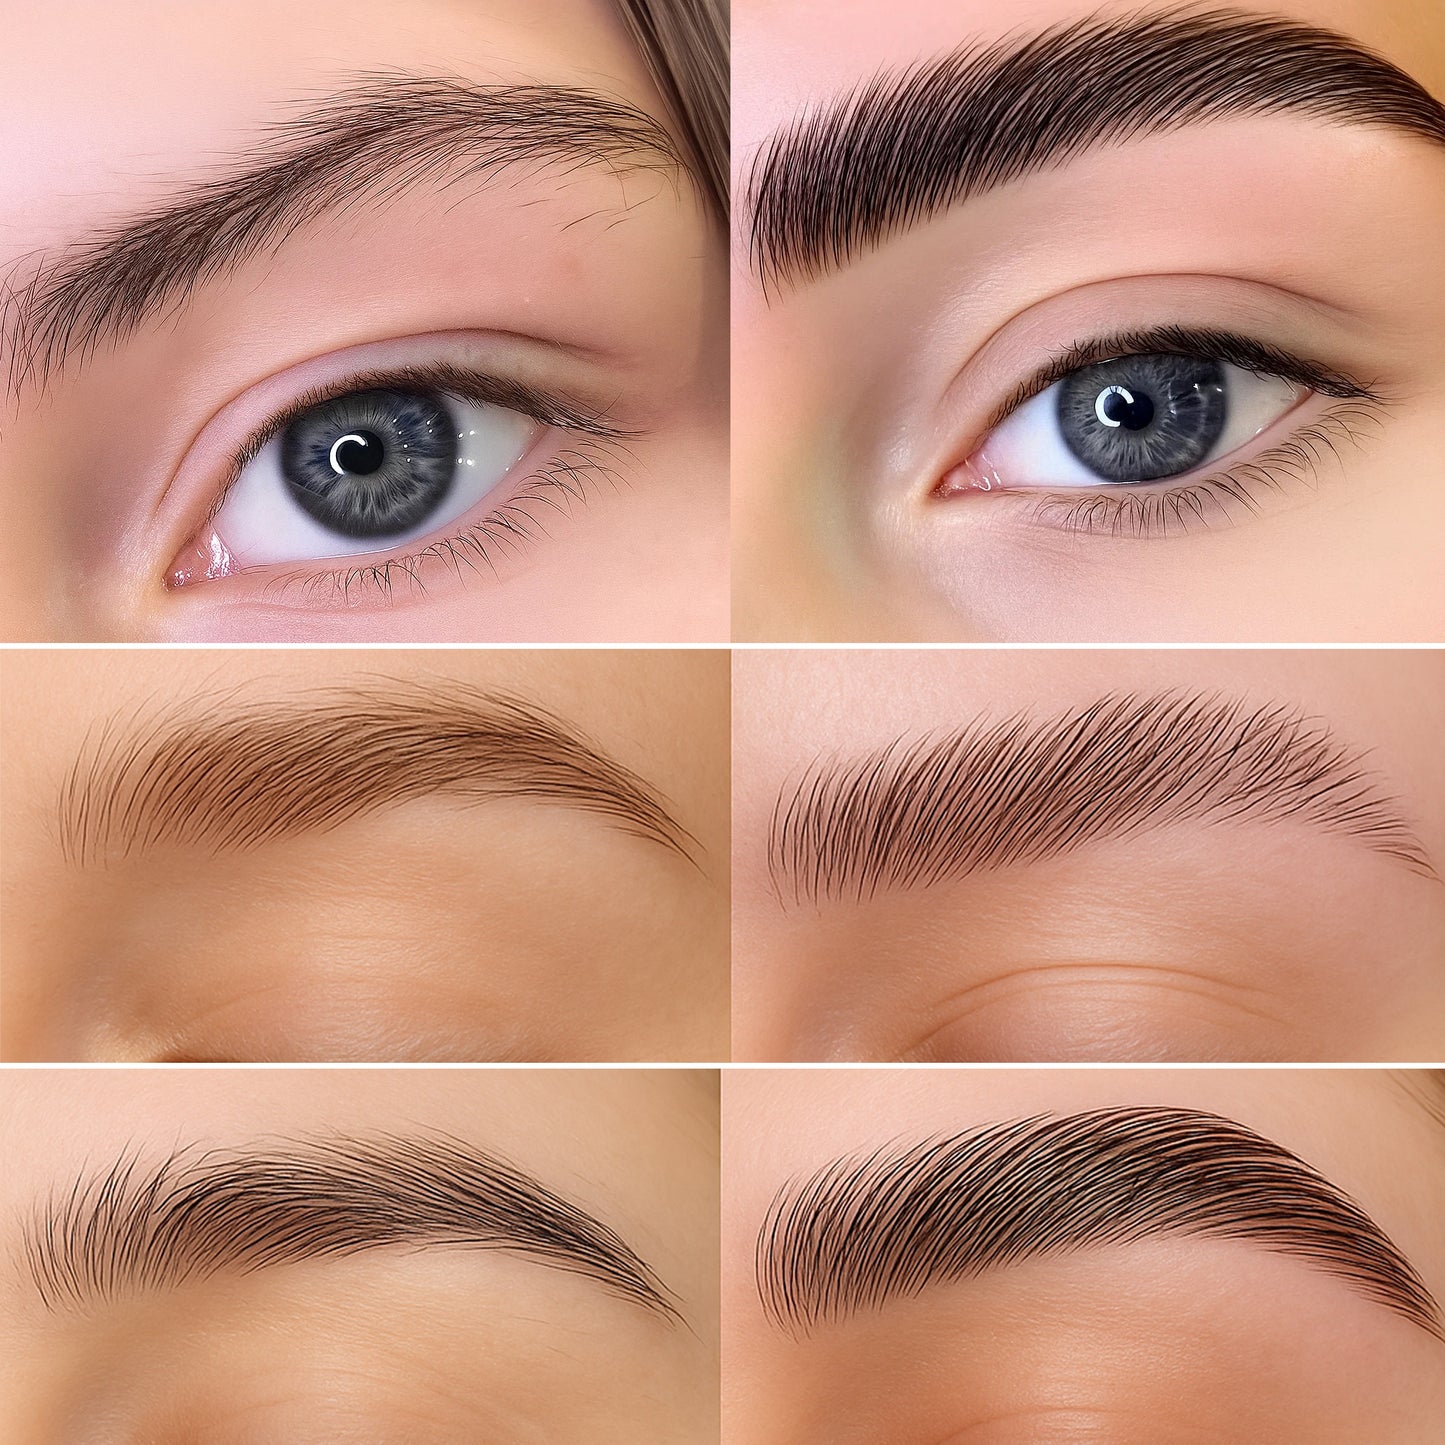
How to Use Brow Lamination Kit
Brow Lamination,
-

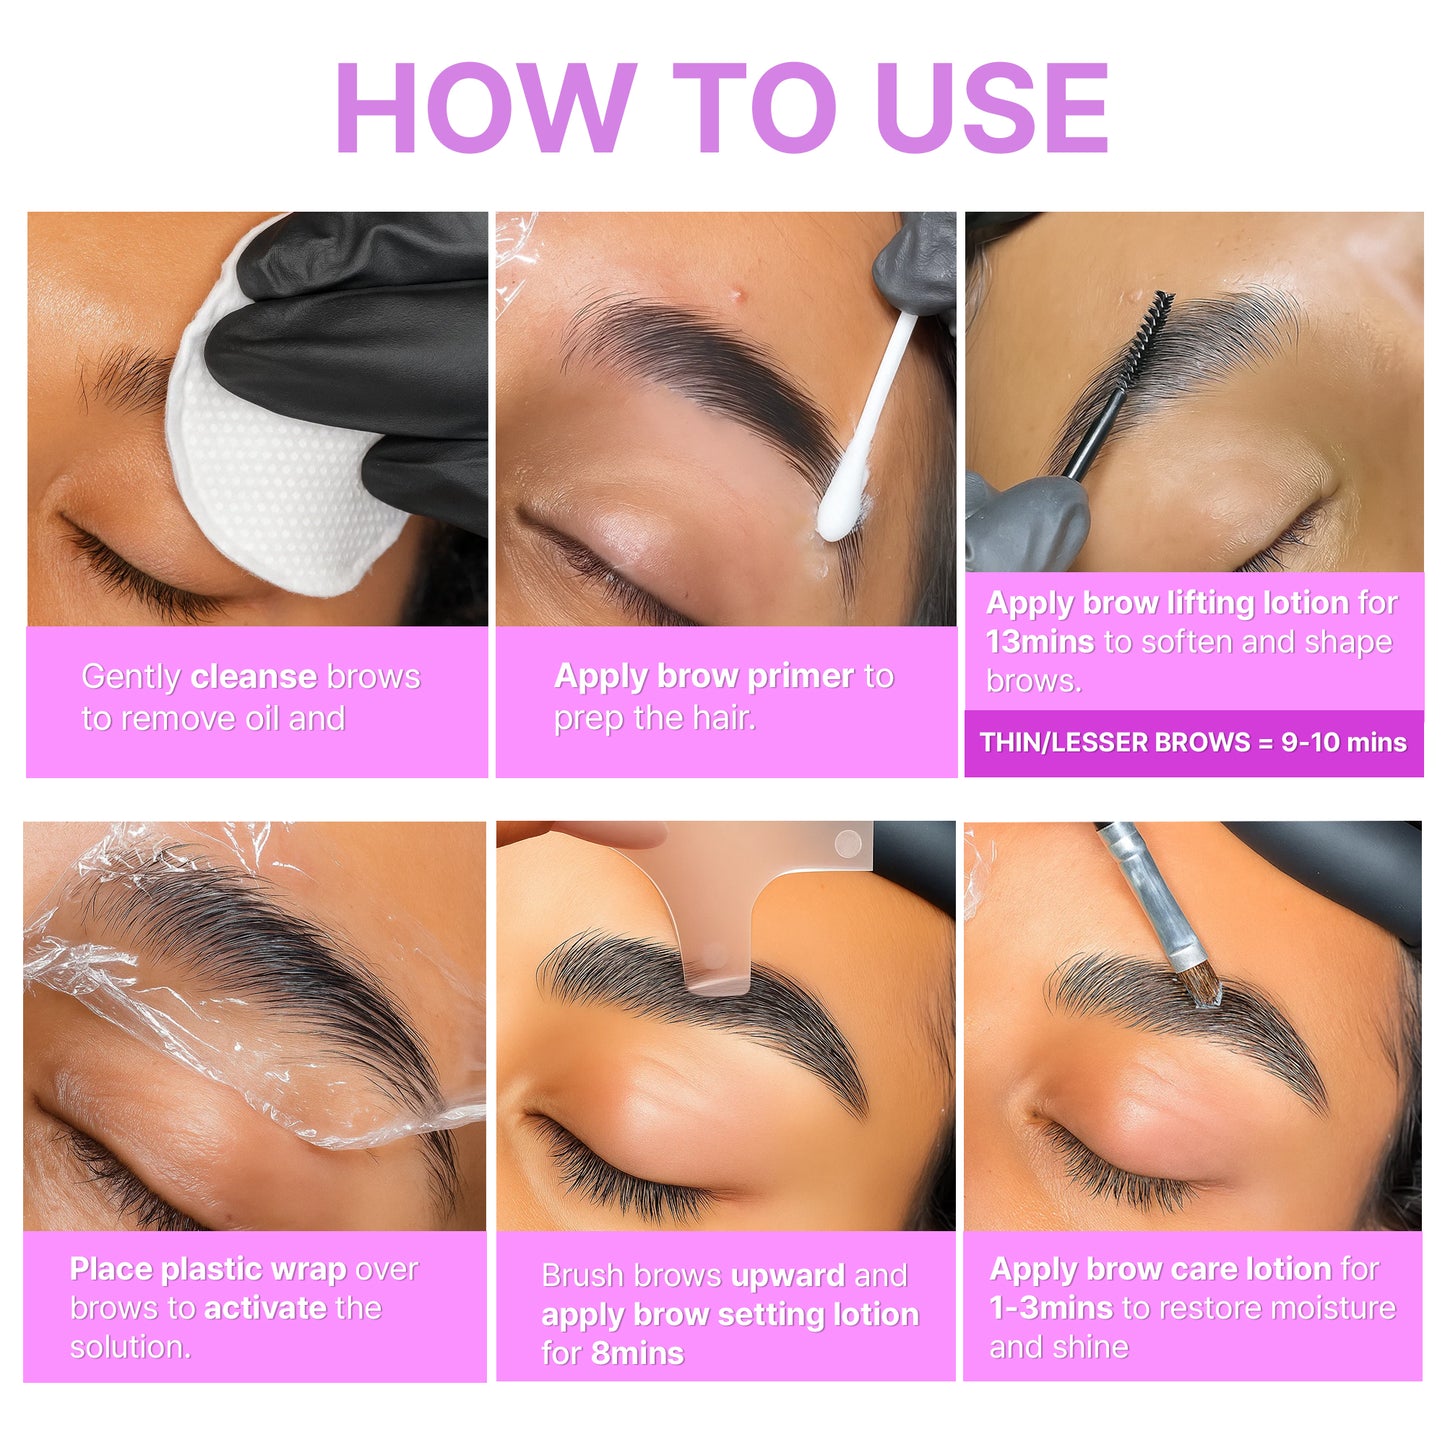
Step 1: Clean & Prep Eyebrow (Pre Care)
Clean and Prep the eyebrows using a lash shampoo.
Be sure to rinse off throughly.
Lash Shampoo is not included but you can purchase it here, please click the link to purchase Lash Shampoo.
-

Step 2: Prime Eyebrows With Lash Primer
Clean eyebrows with Lash Primer in order to boost lifting curing time and power.
Apply Primer to lashes using a micro swab gently stroke away from the lash line, being sure to avoid skin.
-

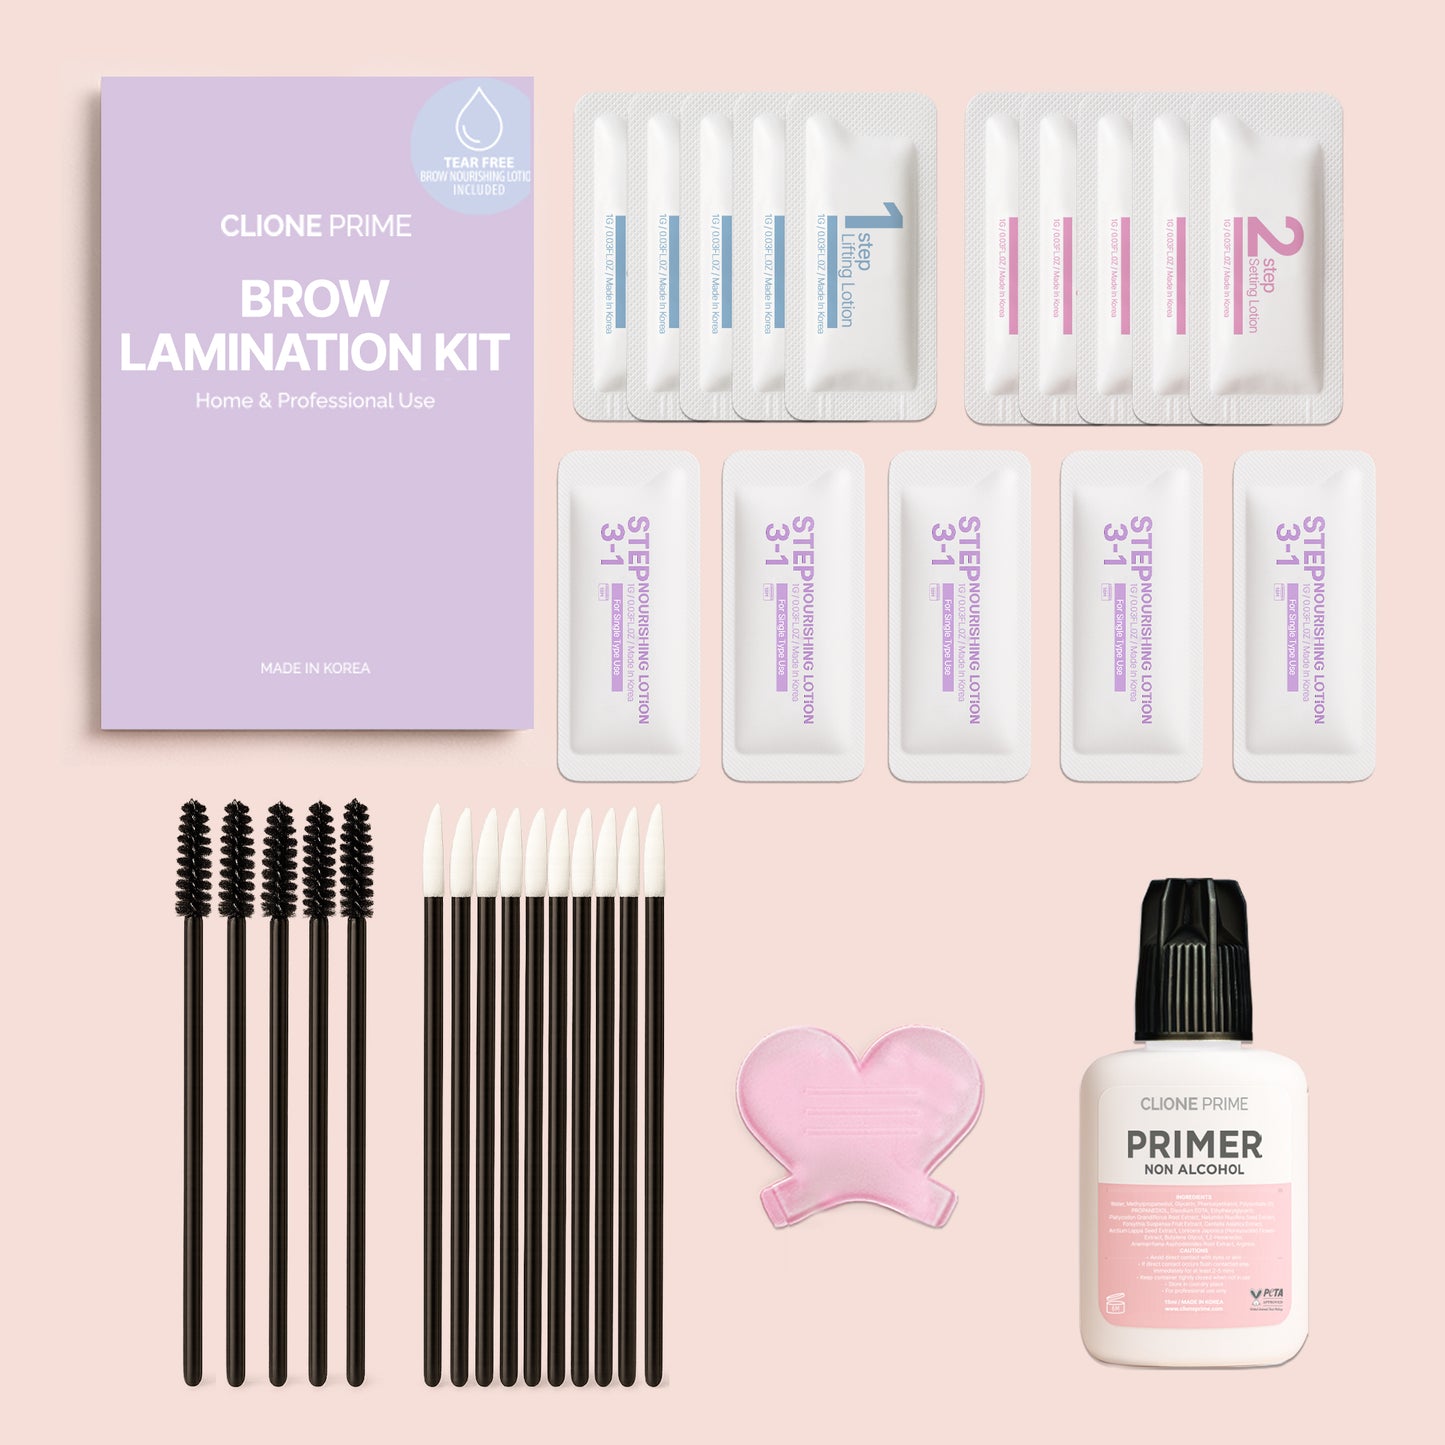
Step 3: Apply Lifting Lotion( Step 1, Blue Packaging)
Apply Lifting lotion and comb the eyebrows into the desired position.
Comb the eyebrows by Y brush and ensuring they stay in their desired position. Place a plastic film (kitchen wrap) across the brows.
In this time eyebrows should become sufficiently soft and manageable.
The developing time for each lash type is as follows:
- Very thin lashes: 9 minutes
- Normal lashes: 11 minutes
- Thick lashes: 13 minutes
-

Step 4: Wipe Off Step 1 Lotion
After the developing time has passed, use a clean flocked tip applicator to wipe off lotion.
-

Step 5: Apply Setting Lotion( Step 2, Pink Packaging)
Apply step 2 Setting Lotion by new applicator, ensuring it is applied everywhere step 1 was used.
Comb the eyebrows into their desired placement.
Cover with plastic Film (kitchen wrap) and let sit for below.
After 8 minutes remove lotion using a clean flocked tip applicator.
-

Step 6: Wipe Off Step 2 Lotion & Apply Step 3
After desired time has passed, use a clean flocked tip applicator to wipe off the 2nd Bottle Setting Lotion onto a cotton pad.
Apply step 3 by new applicator to both eyebrows.
Developing Times are as follows:
- Very thin lashes: 1 minutes
- Normal lashes: 2 minutes
- Thick lashes: 3 minutes
After desired time has passed, use a clean flocked tip applicator to wipe off the 3nd Bottle Setting Lotion onto a cotton pad.
Clione Prime
Brow Lamination Kit



Recommendations
For safety and better lift results, we recommend doing eyebrow lifts by professionals, or friends can also help each other to complete it.
Warning
- Before you use the crystal lift glue, please turn off the airconditioner, heater and open the window to circulate the air in the room.
- Please wait for 30 ~ 40 seconds after each glue application, and then proceed to the next step.
- The lift glue is sensitive and dries within 30 ~ 40 seconds. Repeat application 2-3 times if necessary letting it dry in between applications. Otherwise, the glue may not stick enough.
- Please wait for 30 ~ 40 s before combing the eyelash, otherwise, the glue may not stick enough.
- The viscosity of the glue varies from person to person, if you think the glue is not sticky, you can find another right one.
- Do not touch the skin directly by Step 1 Perm Lotion and Step 2 Setting Lotion, Step 3-1 Nourishing lotion.
- It is harmful. If your skin touches these two liquids accidentally, wash immediately with plenty of running water.
- The developing time for each hair type is as follows :
- Very thin: 9 minutes
- Normal: 11 minutes
- Thick: 13 minutes
"Plastic wrap can be used to help speed processing time. If desired place a small piece of saran wrap over lashes and decrease processing time by 50% Ensure that the lotion does not get into your eyes."
Aftercare
DO NOT get eyelash wet for the first 24 hrs. DO NOT apply mascara for the first 24 hrs. Just go about days as normal after 24 hrs.
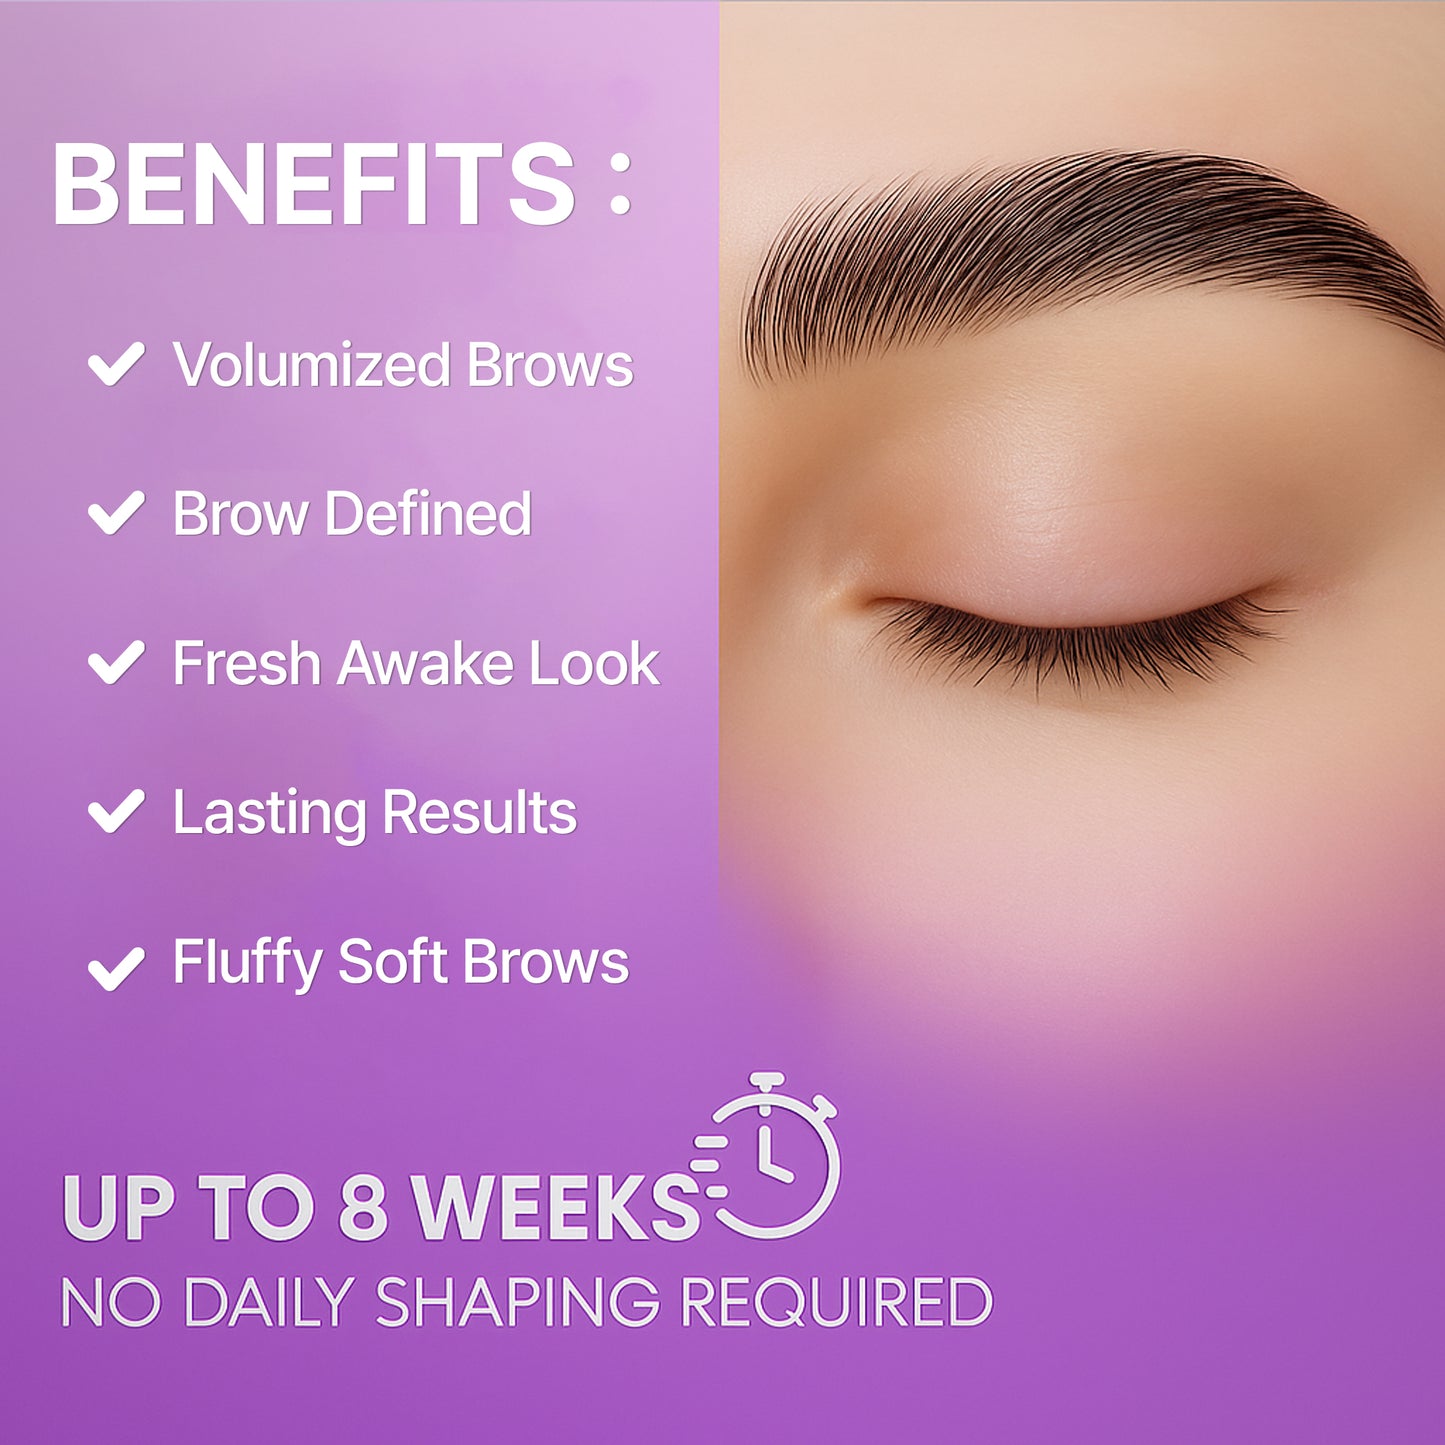
Lash lifting lasts for up to 6-8 weeks. It is recommended to continue treating lashes with a lash growth serum to help maintain lash health.
If you are not satisfied with the lifting result, try the procedure again after a period of 10 days.
FOR ANY QUESTIONS OR ISSUES, PLEASE GET IN TOUCH WITH US FOR PROMPT HELP AND A SATISFACTORY SOLUTION!
You may love...
-
Lash and Brow Tint Kit
Regular price $12.00 USDRegular price -
Lash Lift and Tint Kit
Regular price $30.00 USDRegular price -
Brow Lamination Kit
Regular price $22.00 USDRegular price -
Pro Eyelash Lift Kit
Regular price $45.00 USDRegular price


