How To Use Clione Lash Lift Kit

Safety Precautions

1. Before using any lotions, perform a patch test on a small area to check for allergic reactions or sensitivity.
2. Ensure precision when applying lotions, avoiding contact with the skin,
especially around the delicate eye area.
3. Strictly adhere to recommended time intervals for each lotion application,
using a timer to prevent overexposure.
4. Use clean applicators or cotton swabs for each lotion application to prevent contamination.
5. Ensure a well-ventilated room to minimize fumes during the process.
6. Individuals with pre-existing eye conditions should consult a professional before using the kit for safety.
7. Store the kit in a cool, dry place away from direct sunlight to maintain product effectiveness.

 Eyelash Cleaning

Step 1

Wash lashes with lash shampoo or facial cleanser to remove makeup before starting.

Prepping the Eyelash Silicone Pads

Step 2

Cleanse lashes with a lash lift primer or cleaning solution for optimal adhesion and effective results. Prior to proceeding, use an eyelash curler to curl your lashes for optimal results.

Where & How to Place Them?

Step 3

Place eye pads on the lower eyelids to shield your skin from lotions.

Post Application

Step 4

Choose a lifting rod size based on your desired lift; smaller rods create more curls, while larger ones provide a softer lift.

APPLY GLUE FOR PERFECT CURVE

Step 5

Apply glue to the back of the lifting rod and place it on the upper eyelid
after 30 seconds.

Brush Them Straight For A Beautiful Curl

Step 6

After 30 seconds, apply glue to the front of the lifting rod and use the Y brush to comb your lashes onto the rod, ensuring even spread without overlap.

1st Sachet (Lash Lift Lotion)

Step 7

Using a new applicator or cotton swab, apply #1 perm lotion onto your lashes, ensuring thorough coverage while avoiding skin contact. Cover your eyes with plastic wrap and, after the designated time below, gently remove the perm lotion using a new applicator or dry cotton swab: Thin lashes: 9-10 mins
Normal lashes: 11-12 mins, Thick lashes: 13-14 mins

2nd Sachet (Lash Setting Lotion)

Step 8

Apply #2 setting lotion using a new applicator or cotton swab onto your lashes, ensuring each lash is thoroughly coated without touching the skin.
Cover your eyes with plastic wrap and, after 8 minutes, gently remove the setting lotion using a new applicator or dry cotton swab.

 3rd Sachet (Keratin Vitamin C Lotion) and Final Reveal

Step 9

Use a new applicator or cotton swab to apply #3 nourishing lotion to condition your lashes.
After 1 minute, gently remove the nourishing lotion using a new applicator or
dry cotton swab.
Carefully remove your lashes from the lifting rod and cleanse them to eliminate any residual glue, then pat them dry.

Aftercare

1. Avoid water and steam exposure for the first 24-48 hours.
2. Refrain from mascara or eye makeup for 48 hours to allow the lift to set.
3. Be gentle when washing your face, using a mild, oil-free cleanser.
4. Avoid using an eyelash curler during the lash lift duration.
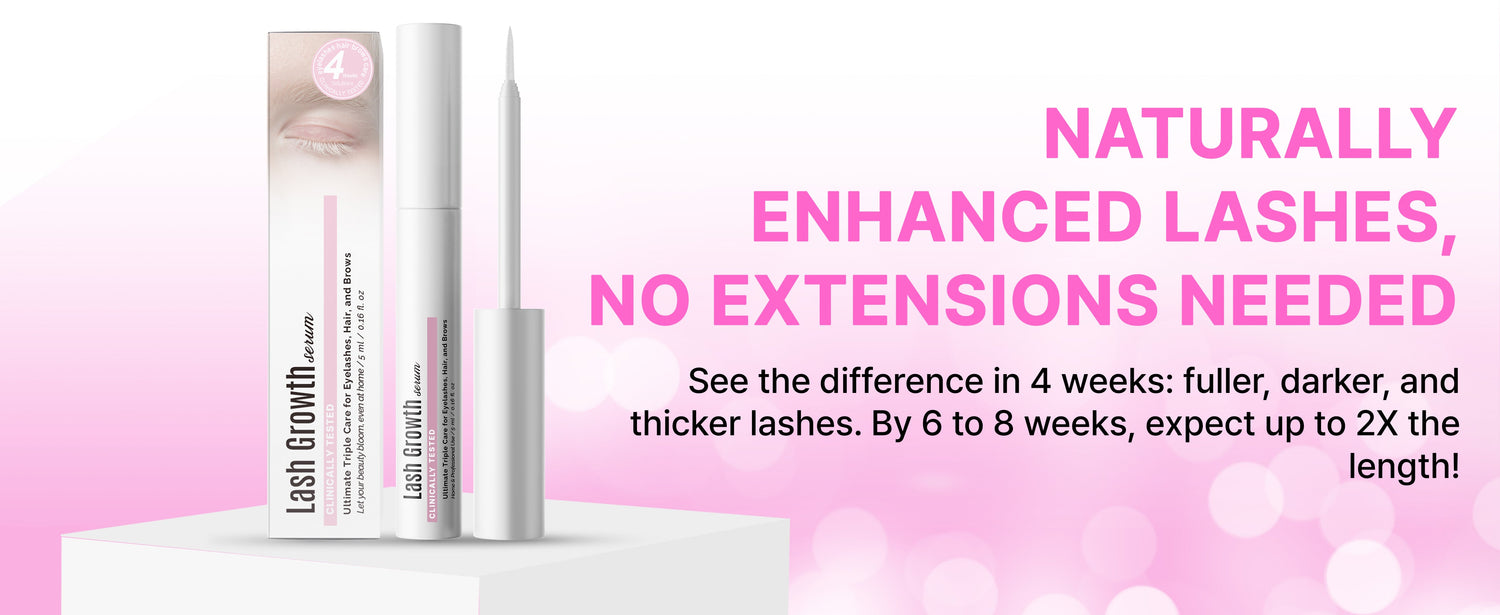
5. Consider applying nourishing lash serum to maintain lash health.
6. Avoid saunas, steam rooms, and swimming pools for the first few days.
7. Treat lashes with care, avoiding sleeping face down and being cautious when removing eye makeup.
8. Depending on longevity, consider repeating the process every 6-8 weeks for touch-ups.

Additional Information

1. Allow 30 seconds for glue to dry before combing lashes. If uneven,
apply an additional layer of glue and fix them.
2. The viscosity of the glue may vary; try a different one if it's not sticky enough.
3. If unsatisfied with the result, wait for 10 days before attempting the procedure again.

For any questions, email us at
support@clioneprime.com

Or you can visit our website
clioneprime.com

Enjoy your lash lifting experience and flaunt those beautifully lifted lashes!